The Secret Gear That Makes Cloth Diapering Actually Work: A Beyond-the-Basics Accessories Guide
You did your research. You bought the diapers. You watched approximately forty-seven YouTube videos about fold types. And then, somewhere around day three, a blowout happened, you had nowhere to put the dirty diaper, your hands smelled like something unspeakable, and you thought: nobody told me about this part.
Here's the thing — the actual cloth diapers are only half the equation. The accessories you surround them with are what determine whether cloth diapering becomes a sustainable part of your family's routine or a short-lived experiment that ends in a frantic Amazon order for a case of disposables.
This guide is for the parents who already know they need shells and inserts. Let's talk about everything else.
Wet Bags: Your Single Most Important Purchase
If you buy nothing else on this list, buy wet bags. Plural. A wet bag is a waterproof, zippered pouch designed to hold soiled diapers without leaking, staining your diaper bag, or announcing itself to everyone in a three-foot radius.
You'll want at least two sizes:
- Small (travel) wet bags — roughly 8x10 inches, these clip onto your stroller or slide into your diaper bag for outings. Plan on having two or three so one can be in the wash while another is in use.
- Large (hanging) wet bags — these live next to your changing station or in the bathroom and hold a full day's worth of diapers between wash days. Look for ones with a double zipper, which makes tossing the whole bag into the wash (diapers and all) much easier.
Budget reality: Quality small wet bags run $10–$18 each; large hanging bags typically cost $20–$35. Buying a set of three or four to start will run you $50–$80 total, but they last for years.
Diaper Sprayers: Worth Every Penny (Especially After Solids)
Before solid foods, breastfed baby poop is water-soluble and can go straight into the washing machine — no pre-rinsing required. But once your baby starts eating real food, things change dramatically, and that's when parents who don't own a diaper sprayer start questioning all their life choices.
A diaper sprayer is a handheld bidet-style attachment that connects to your toilet's water supply line and lets you spray solids into the toilet before tossing the diaper into your wet bag. It sounds fussy, but after about two days it becomes completely automatic.
Most sprayers on the market run $35–$55 and install without a plumber in about 15 minutes. Some newer models include a spray shield (a small splatter guard that keeps things contained), which is genuinely worth the slight upgrade in price.
Pro tip: If you're renting or just not ready to install a sprayer, a dedicated dunk-and-swish spatula or a cheap silicone scraper designated for diaper duty works in a pinch.
Storage Solutions That Don't Wreck Your Bathroom Aesthetic
Your cloth diaper stash needs a home, and a chaotic pile on the changing table is a fast track to feeling overwhelmed. A little organization goes a long way.
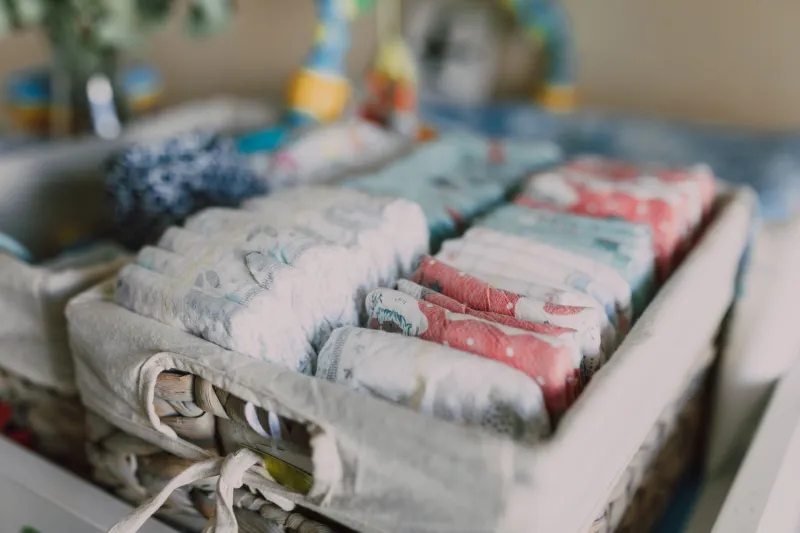
For clean diapers: Open-top fabric bins or small wicker baskets work great on shelves. If you're using all-in-ones or pocket diapers, stuffing them in advance and stacking them ready-to-grab will save you real time during those 2 a.m. changes.
For soiled diapers between washes: Beyond the hanging wet bag, some parents prefer a traditional diaper pail with a waterproof liner. Pail liners function similarly to large wet bags and can be tossed right into the wash. Having two liners lets you rotate without interruption.
For the diaper bag: A small, labeled pouch system inside your bag keeps clean diapers separate from everything else and makes it easy to restock before you head out.
Budget: Bins and baskets from Target or IKEA can be had for $5–$20 each. Pail liners run $15–$25 apiece.
Laundry Additives: The Unsung Heroes of Wash Day
Your detergent does most of the heavy lifting, but a few targeted additives can solve specific problems before they become big ones.
- Oxygen boosters (like Biokleen Bac-Out or OxiClean Free): Great for tackling staining and odor without damaging PUL fabric or absorbency. Use sparingly — a little goes a long way.
- Water softener additives: If you're in a hard water area (which covers a large chunk of the US Midwest and Southwest), mineral buildup can reduce absorbency over time. Adding a small amount of Calgon or similar water softener to your wash routine can make a noticeable difference.
- Stripping treatments: Not an everyday thing, but having a plan for periodic stripping — either with a dedicated product like GroVia Mighty Bubbles or a DIY method — saves your diapers when buildup becomes an issue.
Budget: Budget $15–$25 to stock a few targeted additives. You won't use them constantly, but you'll be glad they're there.
The Minimal vs. Comprehensive Setup: What to Actually Spend
Here's a rough breakdown to help you plan:
Minimal starter accessory kit (~$85–$110):
- 2 small wet bags
- 1 large hanging wet bag
- 1 diaper sprayer
- Basic storage bins (repurpose what you have)
- 1 laundry additive
Comprehensive setup (~$150–$200):
- 3–4 small wet bags
- 2 large wet bags or pail liners
- 1 diaper sprayer with shield
- Dedicated storage system
- 2–3 targeted laundry additives
- A spare set of diaper-safe inserts for quick changes on the go
The minimal kit is genuinely enough to get started. The comprehensive setup is what most experienced cloth diapering parents end up building toward over the first few months — you don't need it all on day one.
One Last Thing
The parents who stick with cloth long-term aren't usually the ones with the fanciest diapers. They're the ones who set up systems that make the whole process feel low-effort. The accessories are the systems. Invest in them thoughtfully, and the diapers themselves almost take care of themselves.